
-
Oct 20 2021 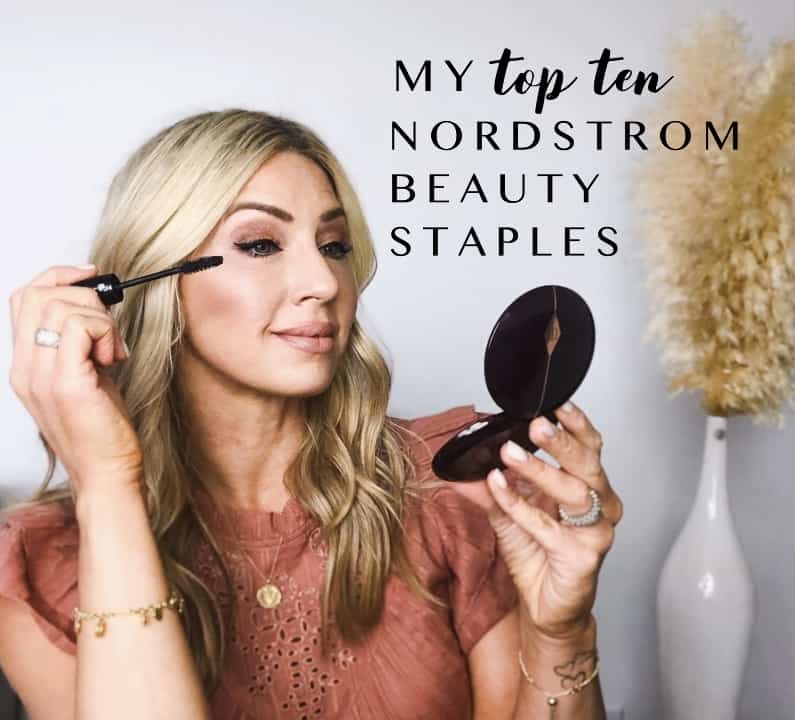
My Top Ten Nordstrom Beauty Staples
My Top Ten Nordstrom Beauty Staples – Nordstrom Beauty Favorites – Beauty Haul 2021
Nordstrom Beauty Favorites! I’m so stinking excited to compile this list for you. These are my tried and true Nordstrom staples that I feel would work for almost every woman regardless of skin type, tone and texture. I also share the one hair product from Living Proof that makes my hairstyle last and look good for multiple days. I am an esthetician and these have never steered me wrong! And if there is a problem, Nordstrom is so easy to deal with.
I’ll start from top to bottom so here goes:
Living Proof Dry Shampoo: https://rstyle.me/cz-n/fvjskgckbap used in combination with the amazing
Dry Volume Blast: https://rstyle.me/cz-n/fvjsmyckbap
Kiehl’s Night Time Repair Creme: https://rstyle.me/cz-n/e2gicyckbap
Charlotte Tilbury Flawless Finish( goes under foundation on the high points): https://rstyle.me/cz-n/fvnwjtckbap
Laura Mercier Foundation: https://rstyle.me/cz-n/fvjsbrckbap
YSL Touché Eclat Under Eye & Face Highlighter Pen: https://rstyle.me/cz-n/ekagq9ckbap
Laura Mercier Translucent Setting Powder: https://rstyle.me/cz-n/ekagd5ckbap
Hoola Bronzer: https://rstyle.me/cz-n/fu6w89ckbap
Target Brush: https://rstyle.me/cz-n/fkdxyxckbap
Fluffy Eyeshadow Brush: https://rstyle.me/cz-n/fnurzhckbap
Trish McEvoy Blush: https://rstyle.me/cz-n/fvjse7ckbap
Anastasia Brow Powder Duo: https://rstyle.me/cz-n/ettj2nckbap
Brush: https://rstyle.me/cz-n/fvjsr5ckbap
Charlotte Tilbury Hot Lips 2 Refillable Lipstick in color Dancefloor Princess: https://rstyle.me/cz-n/fvfyepckbap
Tarte Eyeliner & Mascara I’ve been loving: https://rstyle.me/cz-n/fscmmdckbap
Let me know if you need anything and make sure you find me on Instagram @stacyrody so you can watch my stories and see insider tips and other products I use and love!
Talk soon- Stace
Connect with me: LIKEtoknowit.app: https://www.liketoknow.it/stacyrody
Facebook: https://www.facebook.com/stacy.rody
Instagram: https://www.instagram.com/stacyrody/ @stacyrody
-
Mar 09 2019 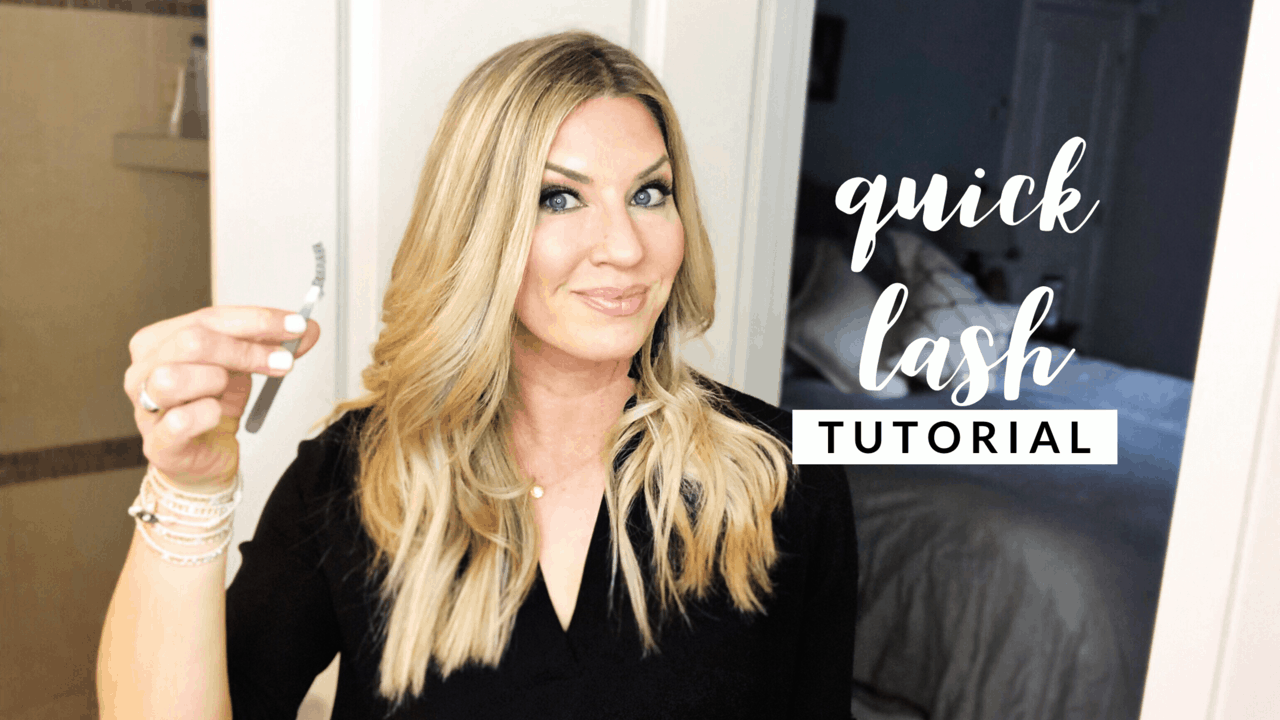
Quick and Easy False Eyelash Tutorial!
Quick and Easy False Eyelash Tutorial! Making those Eyes Stand Out!
There is nothing I love more then having big lashes!! They make my eyes look bigger they pull together my look. I can do a dark smokey eye with lashes or do a really clean neutral simple eye with lashes and go more bold with my lips it all just makes it so fun!! I feel so pretty when I have lashes on!
In this video, I hope to simplify the process so that you can practice putting on strip lashes when you want to go more glam!
Step number one is not to panic. I’ve heard it so much from women that they would rather have someone else put the lashes on them or that they have tried it before and they couldn’t get it to work. I promise you practice does really make perfect and if it doesn’t work the first time you put them on your eye, you can try again!
Having an affordable set of lashes that can be used 3-4 times, is even better! I will teach you how to apply the glue, store them correctly until your next use and what happens if an end pops up during dinner or at a party.
Here’s are the links for everything you need to get your home lash kit ready:
You’ll want to have scissors to trim the ends of your strip lashes and an extra mascara wand can help put a lash or brow hair back into place nicely: https://amzn.to/2XImxEH
Here are some natural lashes I like: https://amzn.to/2TnHciC
Here is another beautiful natural pair: https://amzn.to/2SN2xwX
Here is a multi-pack of some more dramatic lashes that could still be used very easily for any occasion: https://amzn.to/2ERhZUW
The glue that I’ve been using: https://amzn.to/2ERzQv7
The other clear glue I mention: https://amzn.to/2H31fN1
Here is the Lash Boost I have been using nightly: https://amzn.to/2NNgR7F
And for fun, here are my go-to mascara: https://amzn.to/2C877jE and eyeliner: https://amzn.to/2H3elKa These two products give me such quick clean definition.
Enjoy and I hope you get this down quickly!! It’s so fun to be girlie!!
Connect with me:
INSTAGRAM @stacyrody
Email: [email protected]
-
Nov 23 2018 
Easy Eyebrow Tinting Tutorial
Easy Eyebrow Tinting Tutorial – What is the Best Way to Tint Your Eyebrows?
Do you ever get your hair colored and think I wish I could enhance my eyebrow hair color, too? I know tinting your own brows might seem like a really scary thought but I promise it’s not as intense as you may think.
This one monthly treatment has been something I’ve been loving for years!! Since I’m blonde (well, I was when I was five) and my lighter brow hairs can get faded out, I love the definition tinting my brows brings to my entire face. It also makes filling in my brows everyday a little less tedious because when the hairs are darker, there is less of a need for extra brow powder. It’s also a great thing to do before heading out to a tropical vacation. This way when you’re frolicking on the beach, swimming and laying in the sun, you don’t need to fill your brows in.
This is the exact brow powder I use daily https://amzn.to/2OUwLw0 I love this brush to sketch the powder into my brows https://amzn.to/2Twr2ju Anastasia Beverly Hills is the brand and artist who does a lot of brow shaping for the Hollywood stars, including Oprah.
Good brow color and shape can brighten an entire face. When I forget to fill in my brows, I just feel and look off. Do you pay attention to your eyebrows? I’m guessing you do if you’re taking the time to read this. Often I see women getting so used to their natural brow that they forget the impact it can have on their overall appearance. It sounds extreme but I promise brows are a big deal!!!! Having a good shape is something we all need professional help with, including me.
Stick to a color as close to your natural brow color as possible. If your brows are lighter than your hair color, go ahead and add some depth to your brows to complement your hair color.
What you will need on hand. Q-tips, cotton rounds, a mirror, a small bowl, water, tint brush, tint and solution.
First step is to not panic! You can totally do this. Have a clean face or remove your makeup with this skin cleanser and a cotton round: https://amzn.to/2BpVx3y
Then you’ll want to take this brush https://amzn.to/2Box5iY and mix a couple drops of the solution with a pea size of the Medium Brown Tint. The exact set and color I use on myself is here https://amzn.to/2zkxwcU
There are other others you can order like graphite or dark brown depending on your needs. I explain the different tint shades in my video so you know other color options.
Stroke the color onto the brow hairs all the way to the skin. You don’t have to paint the skin but some will naturally be applied. Make sure every hair has the tint color on it and then clean up any edges with a wet q-tip. Let the tint process for 2-5 minutes checking it as the time passes. Some skin and hair will process faster than others so it’s important you watch it closely.
Once you see the skin darkening and it’s been about 4-5 min. You can remove the tint with a wet cotton round. It does transfer a bit to the skin but that will wash off after one cleansing and sometimes it’s nice not to have to fill your brows in for a day or two because of the tinted skin! Make sure to get all the tint off of your brows or it will continue to process and darken and you may not like the results.
Come see me on Instagram and watch the other tips I share. I’d love a message from you with any questions or to tell me how your brows turned out!
Sending much love, Stace
-
Oct 25 2018 
Eyeshadow Review and Tutorial
Eyeshadow Makeup Breakdown 2018- Naked Urban Decay Natural Palette
I’ve had many requests for an eye makeup tutorial so I’m thrilled to make this for you girls. I think it can be tricky to balance not looking homeless when you’re rushed and running kids around town. Having a bit of makeup on can help me feel like I haven’t completely let myself go. You should also enjoy being able to take a minute to feel amazing for a hot date night. These tips should help!!
I’ve laid out for you the most simplistic neutral eye that can be worn with lip gloss and a hint of blush and/or bronzer during the day. It can also be darkened and worn with almost any lip and cheek color for evening.
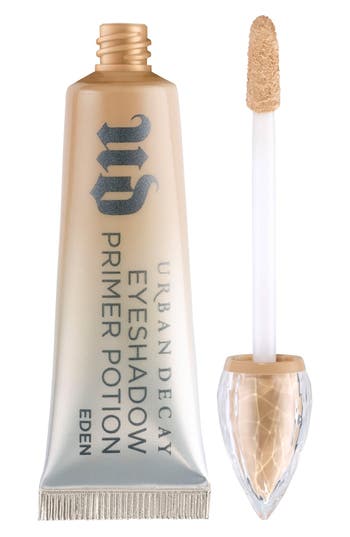
The first step is always a primer. I recently started using Urban Decay and it is prevents my shadows from creasing at all. I find I don’t even need a neutral shadow to set before I start applying my colors. This primer lets you have a beautiful and even base to enhance the eyeshadow tones.
Primer: Urban Decay Eyeshadow primer potion. The color is Eden:
Laura Mercier Eye Basics in the color Wheat is also a favorite I’ve used many times: HERE
Next you choose your colors based on how natural or dramatic you want your eye look to be. I also talk in this video about what shades bring out the natural color of your eyes. The goal is always to make your eyes look like sparkling jewels instead of “seeing” the eyeshadow.
The order I personally do is crease shade, then shimmer on the lid and then the darker outer crease. I will then use the shimmer or the crease shade on my lower lash line as well. I only tuck a thin line of shimmer under my brow for a dressier look. Remember, the thicker line of shimmer under the brow will reflect light in a photo and make you look like the 90’s are calling. You’re welcome.
If I’m planning a darker eye look for evening, I will do the crease shade and then layer the dark on the outer crease and lid. I like putting the dark on first because then I can pop the eyelid with whatever shimmer I want. With the dark down first, it can really bring in a cleaner smokey eye instead of flipping dark everywhere you may not want it. I will then use the shimmer or the crease shade on my lower lash line as well.
My favorite part of doing my eyeshadow is using the neutral crease shade. Here is the MAC #224 Crease Brush: HERE
As you learn in this video, you basically use a windshield wiper motion technique. It’s so simple and makes any eye color come to life. If you feel like your eyelids have lowered a bit over time, ahem aging, simply apply the color a bit higher than you think you should. This will lift the eye creating a more youthful look. Here is your artist palette to start playing with:
Urban Decay Naked Palette: HERE
I like the brush that it comes with. Use the tight side for your lid and lower lash line and the fluffy side to blend out anything that may need blending. Remember, you don’t want to see where one color starts and another one stops. Everything should be blended on the edges a bit. I’m using the Eyeshadow Brush Bare Escentuals precision eye brush for applying the dark shade in the video.
Here is the liner I use up under my lashes on the inside waterline, Marc Jacobs Gel Crayon, black: HERE
I do the liquid liner right before mascara, L’Oreal Superstar, Snag it HERE, only on the top lash line. This is my third tube of this liner, so it really works well. I always start on the outer corner to get the correct angle on my wing. I make a line going inward and then finish it using the length of the eyeliner on the top lash line. Don’t overthink it and keep a q-tip nearby. If you mess up the first time you try something, don’t let it stop you! You will master this.
Here is my go-to budget friendly mascara, L’Oreal Voluminous Original, color blackest black, Buy it HERE, that washes off well and never lets me down.
If you are new to more than one eyeshadow color, try doing concealer after you do your eyeshadow. That way you can clean up any shadow that fell and then apply it. Here’s my current favorite, Tarte Shape Tape in Light, Check it out HERE
If you are taking the time to do any sort of eye makeup, I highly encourage you to fill your brows in. This will lift your face, open your eyes and complete the look. Here is the shade I use Anastasia Taupe Brow Powder Duo:

If I am going for a really neutral quick look, I quickly fill in my brows, throw my shadow base on, whisk some caramel colored shadow in my crease, line on the inside waterline and throw mascara on. Brows are our besties which is why I can’t wait to get mine microbladed. That will be a good day!! Have fun playing around and channeling your inner artist.
-
Mar 09 2017 
Get Glowing Skin and Keep IT!
Glowing Skin is NOT wrinkles, pimples and age spots — we dislike them all!!!
I would know, I used to have horrible skin. Acne and I were close friends much to my dismay.. like the big, cystic and painful acne. I would want to call in sick to work acne. I took all measures growing up trying to ditch it. Two rounds of Accutane, every prescription gel, retinol, and cream possible. Most of it did nothing!!! Glowing skin seemed like a fantasy world I would never be a part of. Talk about a confidence killer!! Don’t even get me started on wrinkles… no bueno!
But over the years, as I’ve followed this path toward a healthier lifestyle, I’ve found solutions to help all my skin problems nearly disappear. I’m a makeup artist and esthetician by trade and still had a hard time troubleshooting my skin. Until I changed my nutrition. You see, our skin is the largest organ we have. If it is having problems, that’s a sign something’s not right on the inside. Now I’ve got beautiful, healthy and glowing skin I can be dang proud of and the best part is that I was able to get here naturally!
I want to share four tips that I’ve followed, that will help you not only start improving the health and look of your skin now, but also how to help undo any damage you’ve done, to return it to that glowing skin we all want.
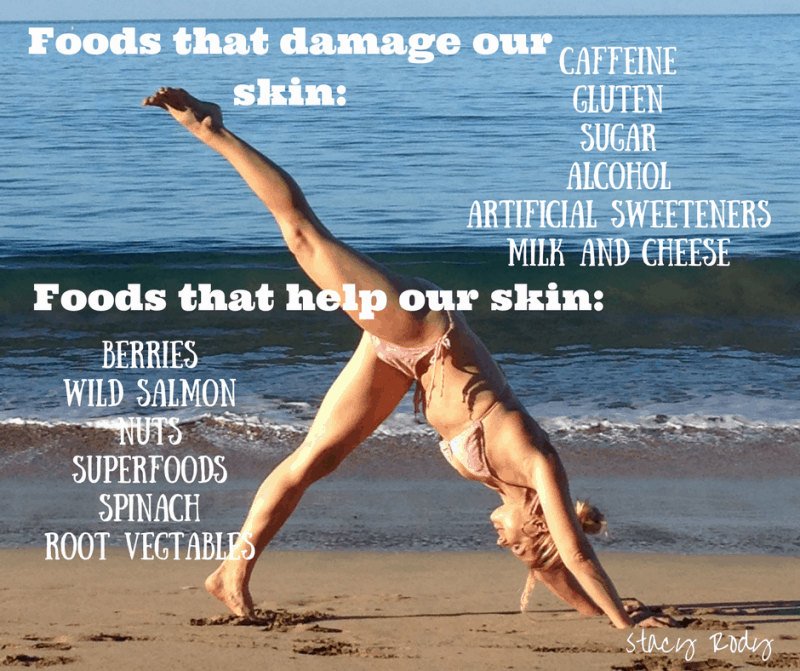
Tip #1: Say Goodbye to Gluten
This is my number one, absolute must tip to having amazing, glowing skin! Here’s the deal with gluten, not all gluten is made the same. Over the years, it’s been modified to cause more damage then actually add healthy nutrition to our body. Especially in the U.S., today’s gluten is more of a stress inducer for your body. It causes inflammation in most of us and some more sensitive to it than others, but let’s just say I won’t touch the stuff with a ten-foot pole. All those added stressors on our system means wrinkles, acne, brown spots — and let’s be real… nobody wants that.
The stress in your body caused by gluten causes your skin to look dull and aged. Did you know that gluten is possibly linked to psoriasis, patchy skin and eczema? I’m just saying. I went gluten-free 4 years ago and not only does my tummy look less bloated, my skin has never looked better.
Before you start to think you can’t handle one more project to tackle like going gluten-free, let me tell you it’s WAY easier than you may think! There are so many healthy alternatives to gluten products, you just have to know what to look for. You can get all of my tips, tricks, and downloads in this FREE private Facebook Group. I love sharing what I’ve learned with anyone who needs it. I’ll accept your request asap Gluten-Free Sisters FB Group!!
Tip #2: Roots and Fruits
Root vegetables and fruits are pretty close to the Fountain of Youth. You should be eating these regularly! Eating root veggies and beautiful fruits, flood the bloodstream with nutrients that your body needs to make glowing skin!
 Your skin is clearer, the whites of your eyes are brighter, you sleep better — so why wouldn’t you eat them?
I know there are some people out there who say, “Should we really be eating fruits and root vegetables? Those have a lot of sugar in them.” Let’s get real for a second, it’s MUCH better than grabbing a granola bar full of preservatives and sugars. The sugars you’re supposed to avoid are things like high fructose corn syrup and the junk that’s in your processed foods. If you’re eating things like beets, sweet potatoes, parsnips, carrots, cherries, blueberries, raspberries, plums, pineapples, you’re doing your body GOOD! Your body and skin will thank you for it by looking beautiful and feeling radiant.
It’s also worth mentioning that your brain runs on pure glucose. If you’re cutting out root vegetables and fruits from your diet, your body is going to feel it.
Tip #3: Watch the Oils
All the nasty oils in everything like Canola Oil, Sunflower Oil, etc., these are all stressors and toxins to your body. Did you know that the stress and toxins produced by oils and gluten actually prevents collagen from developing? No wonder so many people are struggling with getting and maintaining healthy skin! I use organic cold-pressed olive oil in my salad dressings and avocado or coconut oil for heated cooking. You don’t want to over heat olive oil or it turns rancid.
Remember how I mentioned our skin will tell us when something is off? If you’re eating those sugars, processed foods, fast food and cooking with all that oil that turns toxic and rancid, your body will give you signals to let you know something’s not right. We must read labels and educate ourselves to be in our BEST health NOW.
Tip #4: Silky sleep
I’m a side sleeper and my cheeks stay planted against the pillow at night. Fortunately, I’m sleeping on a silk pillowcase. I’ve had it for almost 8 years and it looks brand new and I don’t have to worry about getting those nasty sleep wrinkles. Here’s the thing, if you’re sleeping on cotton sheets or anything other than silk, those are harder surfaces and can create wrinkles if your skin is smudged against the fabric all night. With silk sheets, your skin glides and doesn’t scrunch, so it helps to prevent those wrinkles that give you a forced, aged look. It’s great for preventing breakage on your hair and that’s how I originally learned about the benefits (shout out to my stylist!). http://shop.nordstrom.com/slipsilk-pure-silk-pillowcase
You can find super affordable options on Amazon here:
https://www.amazon.com/SilkPillowcasesBonus Tip: Stay hydrated!
Your skin is not going to look good if it’s not hydrated.
Drink plenty of water throughout the day, especially if you’ve got a sweet tooth, skip the soda and opt for things like Kombucha, La Croix or Zevia. I also love 1/2 lemon squeezed into an 8 oz glass of water first thing in the morning.Above all else, remember your body is a miracle!! It knows how to work and it wants to work and function to be vibrant and healthy. You just need to help it get there and stay that way. Stop treating your body like a garbage can, putting junk into it and start treating it like the gift it is. Then you will have that glowing skin you’ve always wanted!!
-
Laura Mercier ‘Flawless Skin’ Face Polish
Laura Mercier ‘Flawless Skin’ Face Polish
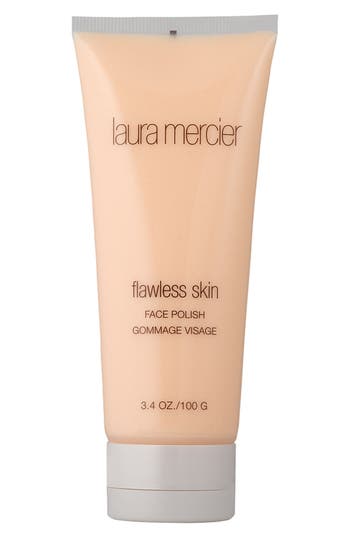
Face Polish is a creamy scrub that cleanses and exfoliates. It helps remove dead skin cells thanks to purifying microbeads, while emollients soften skin. How to use: Place a small amount onto your fingertips and gently massage into dampened skin. Rinse with warm water.
-
Jul 06 2016 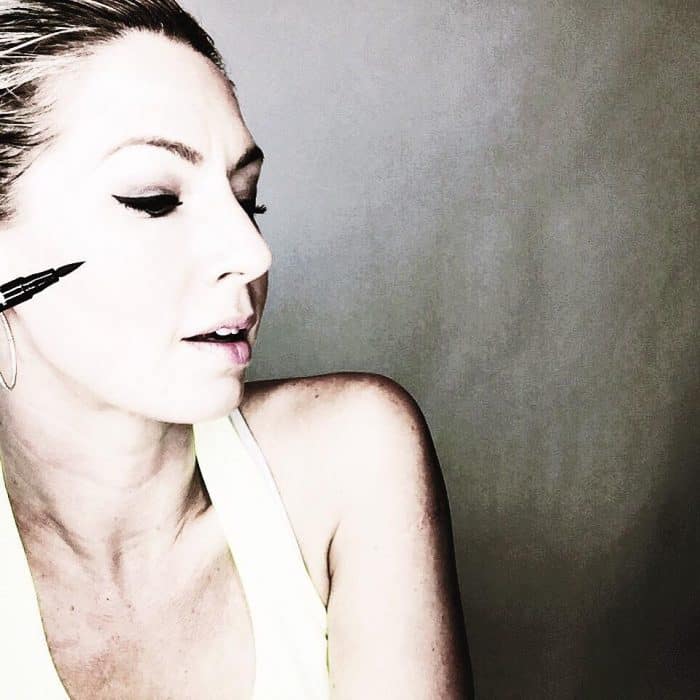
Quick Eyeliner Tips!!!
Eyeliner that is cheap, quick and easy to apply!
I found a fun eyeliner I have to share! L’oreal Voluminous Superstar liquid liner. I love Laura Mercier pencils smudged with dry shadow, too, but this has been my FAST morning secret lately.
I found out about it because I was at Walgreens looking for a liquid foundation I’d been reading about. The girls there said I had to try this and they were right!!! Amazing!
Are you curious to what foundation it is???? Want me to share??? ??? Before I do, here is my eyeliner tutorial.
[youtube id=”x-5_dPZoXiE” align=”center”]Hope the video is useful and you can save a little money and learned a little in the process! I love teaching! Being a makeup artist at Nordstrom for over 8 years, really built the passion in me. I don’t do much makeup artistry anymore, but I sure love sharing tips and tricks of the trade!Okay, okay 😉 here is my cheap foundation find : L’oreal Lumi True Match. I’ve found W 5 to be just about perfect but could maybe buy W 6 and mix the two. Especially when I have a spray tan. My favorite high end foundation is Makeup Forever HD from Sephora and I just bought their primer, too! The Skin Smoothing formula since I have larger pores. I love me some Laura Mercier foundation primer but just wanted something a tad different for once.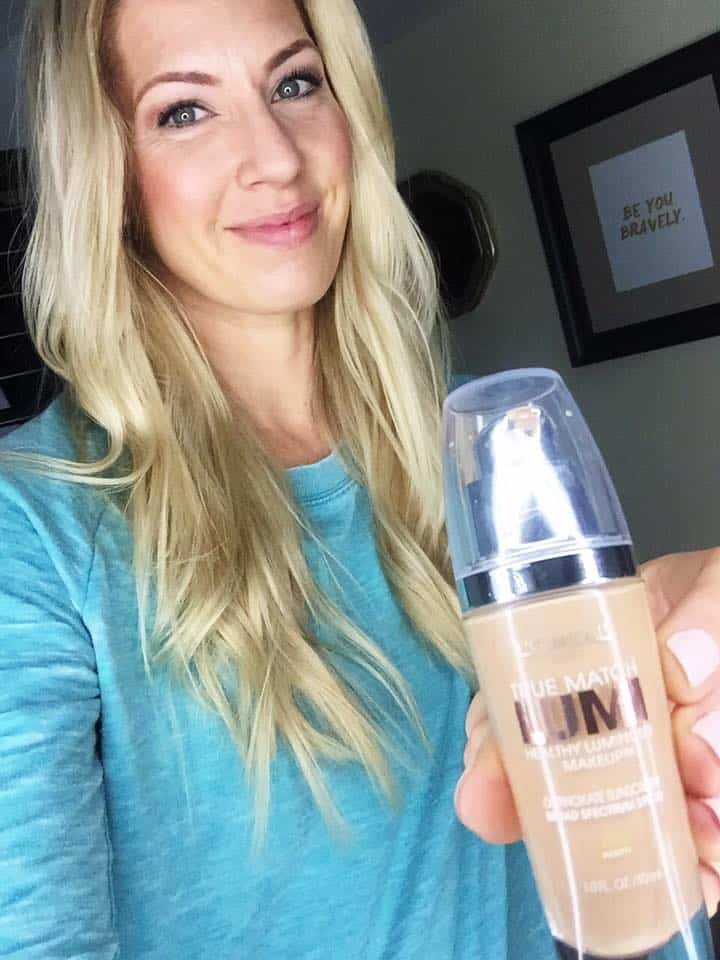
-
Jul 03 2016 
Anastasia Beverly Hills Lipgloss Review!
Lipgloss!
I’m very particular with my lipgloss. I have gone through a lot of different ones over the years. Working at Nordstrom for a little over seven years, as well as being the manager for Laura Mercier, I was always being recommended awesome options. I like something that stays on as long as possible.
This lipgloss is creamy and feels like it almost melts into your lips. ? The perfect shade for a nude lip. I haven’t experienced any dryness or cracking from using it and I have very sensitive lips.
-
Jan 07 2016 
Makeup Ideas: Crying….how to hide it?!!
Cute Makeup Ideas
When you cry your eyes out the night before your 5 year old goes to Kindergarten, the eyes get a bit puffy? and it’s time for cute makeup ideas! To combat that puffiness, matte medium -dark eye shadow helps a ton. I like dark brown for blue eyes and dark grey for brown eyes.
Today was Nars Coconut Grove eye shadow with Laura Mercier BlackTight Line for liner. Anything with shimmer would have made my puffiness shine like the sun.
After drop off, I went immediately to Target to buy something I didn’t need. I also made my bed because somehow that makes me feel better heehee. For more makeup ideas go check this post I wrote awhile back about primer and foundation!
-
Dec 01 2015 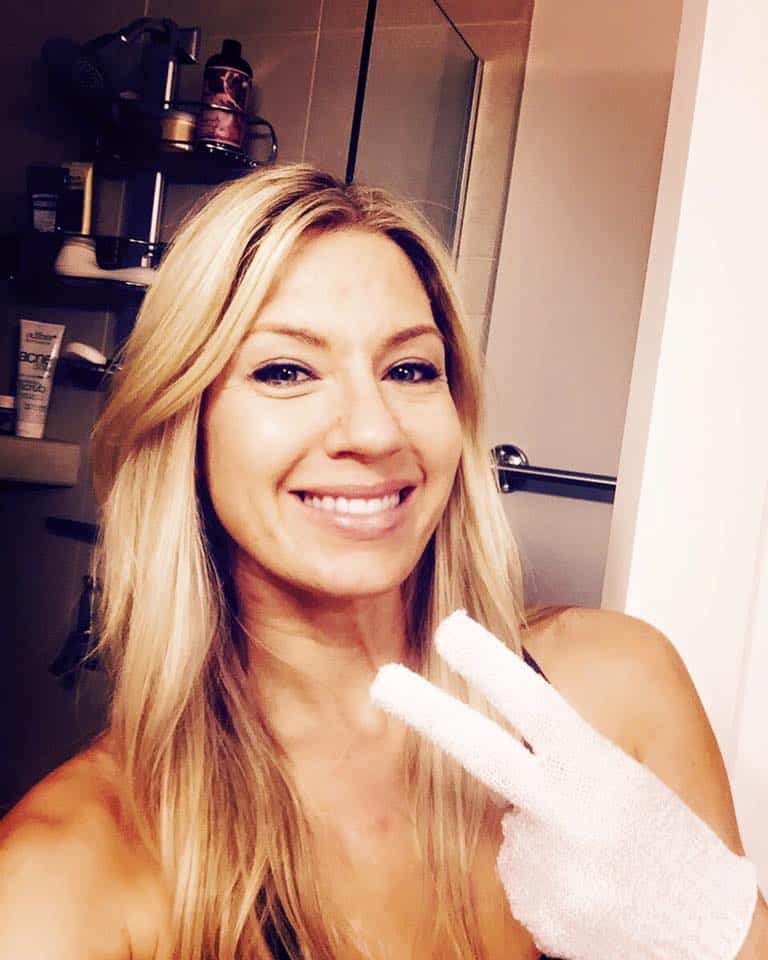
Exfoliate or Not to Exfoliate!
To Exfoliate
Before we begin talking about how to exfoliate, let’s talk about why, and how often you should exfoliate your skin. As a licensed esthetician, I get asked this often with clients and also friends. I find there is no perfect answer, mainly because it all depends on your skin. And as I talk about these exfoliating gloves, they are a great way to exfoliate your body, but I use a whole different group of products for my face. I have very oily skin, I have dealt with acne all my life. Let’s get going!
Why do we Exfoliate?
You might not even know it, but your body is constantly producing new skin cells. That, combined with environmental factors and the use of makeup, can be damaging to the skin. If you don’t exfoliate, your pores can accumulate dirt and other oils, causing breakouts. This is not just limited to your face, this can happen in other areas of your body as well, specifically your chest or back, as well as your upper arms and legs. Exfoliation helps slough off dead skin cells, remove dirt and keep pores looking smaller.
Should you exfoliate everyday?
No. While your skin does need to be tended to regularly, exfoliating more than necessary can actually cause skin to become rough, dry and patchy. It actually depends more on the type of skin and the amount of oil you produce. To exfoliate properly, you need to be aware of your skin and what it needs. For your body, I would use exfoliating gloves. They allow you to have more control and they are perfect in a shower or bath.
Figure out your skin type before you exfoliate
I have found that there are 4 main types of skin. We have oily skin, sensitive skin, dry skin and then there is normal sort of combination skin. None are perfect or better than the other, we are what we are! Sometimes I hate my oily skin, but then I see what other women deal with, when having dry skin and I find that it is just different problems, not better or worse. So let’s break these down a bit more.
- Oily Skin – Most people think only teenagers have oily skin. Wrong! Women of all ages can experience it. I know I have! As a general rule of thumb, the oilier your skin, the more often you can exfoliate. Having oily skin makes it hard for dead skin cells to be removed.
- Sensitive Skin – This one is pretty self explanatory. When you have sensitive skin, you are going to tend to be careful when preparing to exfoliate. You may end up using exfoliating gloves only very, very lightly, or find that you should only use a warm clean washcloth and that does the trick. Listening to your body is the key.
- Dry Skin – Many people believe that exfoliating may not work with dry skin. This is not the case. In fact, women with dry skin actually get an abnormal buildup of skin cells, preventing normal exfoliation and normal moisture retention. Exfoliating helps the dead skin cells shed at a more normal rate, making room for new skin cells and hydrating the skin. If you’re a woman who has dry skin, you could use exfoliating gloves twice a week for your body. But listen to your body. My husband, yes I make my husband exfoliate, tries to use the exfoliating gloves twice a week and it has worked well for his dry skin.
- Normal or Combination Skin – Women who have normal or combination skin often have a T-zone that is oily and cheeks that are dry. These women also tend to have large pores, especially on the nose, and they experience occasional breakouts. If this sounds like you, then a chemical peel that contains alpha hydroxy and beta hydroxy acids is the right thing for you. Such peels are extremely effective in eliminating excess oil through the T-zone area. How often you should use such peels varies by product, so make sure to always follow the directions. Women with normal skin can also use exfoliants like scrubs up to three times each week.
How I Exfoliate and My Recommendations For your Face
Here’s what I do with my skin type when exfoliating. Twice a week, I use a face polish or scrub to get all the dead skin cells off and help my skin look and feel smooth so my makeup goes on nicely, hence exfoliate. Laura Mercier Face Polish is my favorite but there are so many good brands. The one I discourage is the St. Ives Apricot Scrub, it has uneven sharp apricot kernels that can create tiny incisions in the skin, allowing bacteria to get in. It is overall a little rough for the face. I also love Philosophy’s Micro-delivery Peel for a once a week smoothing. It feels so amazing and pumps vitamin C into your skin as well so you are left with a bright, smooth complexion for the week.
Being an esthetician, I also know the value of what I like to call “lunchtime” peels. What these are are lactic, glycolic, or citric acid peels that you could literally get done on your lunch break and still look halfway normal returning to work. I recommend finding an esthetician near you who uses PCA products. They are my favorite and the entire brand of home care and clinical line was designed by a dermatologist and esthetician so you’re getting the best of both worlds.
These types of peels are best done in a series. I recommend to my clients to do 3-5 in the Spring and 3-5 in the Fall. Depending on your skin type you would get one every 3-4 weeks during your series. Summer is never a good time to do any peels since we are always in the sunlight whether we want to be or not. You don’t want to damage the improvements you’re trying to make to your skin, by forgetting your hat or extra sunscreen while at the park, or out and about, on accident. This can actually cause hyperpigmentation as your skin heals from a peel, all the while you are trying to decrease any unwanted pigment from acne scars or sun damage. Deeper exfoliation from a peel helps rid the skin of any unwanted pre-cancerous cells, pigment, oils, acne pigment scars, overall sebum/oil buildup. It helps so much with preserving the youthful texture and radiance.
HOW I EXFOLIATE AND MY RECOMMENDATIONS FOR YOUR Body
For the body, the reason I like the exfoliating gloves, is because you can wash them easier than a loofah and they last for a long time. You adjust the pressure you apply by feeling your touch and can use soap or your favorite shower gel. Sugar and salt scrubs work well, too, but can gunk up your shower and honestly, I just have never seen them work quite as well. If you like to get spray tans, the best practice is to exfoliate your face and body 1-3 days before you go in for your appointment.
 You can wait until the morning of, but if you get a few good light scrubs in prior, your skin will accept the tan well. All the places you get really dry will have had a chance to soften quite a bit, which really makes the spray tan last a day or two longer. For example, elbows, edges of the feet, knees and legs. Make sure to always hydrate with your favorite lotion after you’ve exfoliated in the shower while your skin is still warm and soft. Your product will penetrate deeper and you’ll skin will glow! Make sure not to put lotions on before a spray tan appointment though because you’ll want the tan solution to be able to absorb evenly into your skin.
 I hope this helps as you begin or continue to exfoliate your skin. I still get acne, I still have issues, I’m no where perfect. But I also see the lasting affects of exfoliating on a normal basis. I want my skin to look good when I’m 70 not just right now! To keep it up, we must continually exfoliate and be ever so kind to our skin!
- 1
- 2