-
Oct 25 2018 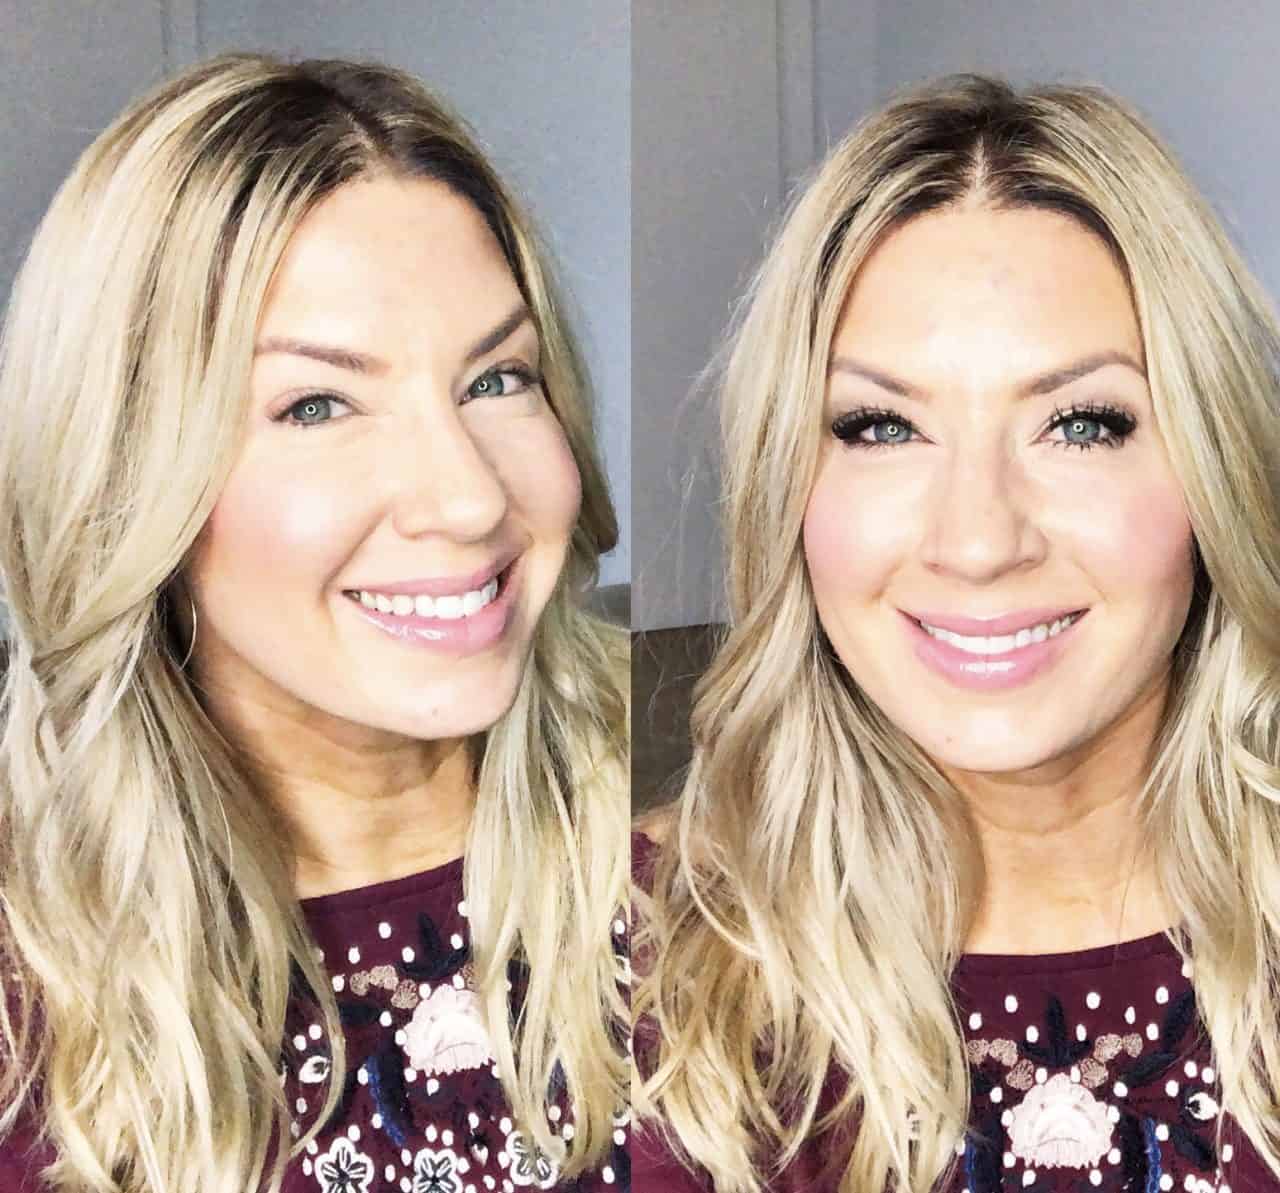
Eyeshadow Review and Tutorial
Eyeshadow Makeup Breakdown 2018- Naked Urban Decay Natural Palette
I’ve had many requests for an eye makeup tutorial so I’m thrilled to make this for you girls. I think it can be tricky to balance not looking homeless when you’re rushed and running kids around town. Having a bit of makeup on can help me feel like I haven’t completely let myself go. You should also enjoy being able to take a minute to feel amazing for a hot date night. These tips should help!!
I’ve laid out for you the most simplistic neutral eye that can be worn with lip gloss and a hint of blush and/or bronzer during the day. It can also be darkened and worn with almost any lip and cheek color for evening.
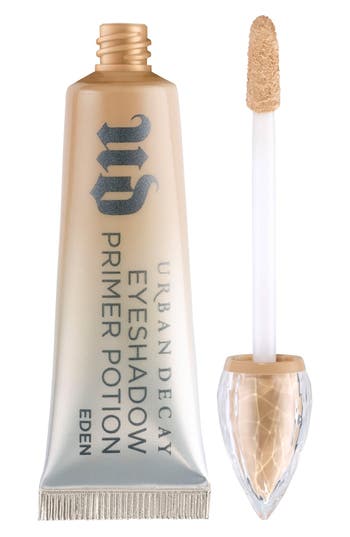
The first step is always a primer. I recently started using Urban Decay and it is prevents my shadows from creasing at all. I find I don’t even need a neutral shadow to set before I start applying my colors. This primer lets you have a beautiful and even base to enhance the eyeshadow tones.
Primer: Urban Decay Eyeshadow primer potion. The color is Eden:
Laura Mercier Eye Basics in the color Wheat is also a favorite I’ve used many times: HERE
Next you choose your colors based on how natural or dramatic you want your eye look to be. I also talk in this video about what shades bring out the natural color of your eyes. The goal is always to make your eyes look like sparkling jewels instead of “seeing” the eyeshadow.
The order I personally do is crease shade, then shimmer on the lid and then the darker outer crease. I will then use the shimmer or the crease shade on my lower lash line as well. I only tuck a thin line of shimmer under my brow for a dressier look. Remember, the thicker line of shimmer under the brow will reflect light in a photo and make you look like the 90’s are calling. You’re welcome.
If I’m planning a darker eye look for evening, I will do the crease shade and then layer the dark on the outer crease and lid. I like putting the dark on first because then I can pop the eyelid with whatever shimmer I want. With the dark down first, it can really bring in a cleaner smokey eye instead of flipping dark everywhere you may not want it. I will then use the shimmer or the crease shade on my lower lash line as well.
My favorite part of doing my eyeshadow is using the neutral crease shade. Here is the MAC #224 Crease Brush: HERE
As you learn in this video, you basically use a windshield wiper motion technique. It’s so simple and makes any eye color come to life. If you feel like your eyelids have lowered a bit over time, ahem aging, simply apply the color a bit higher than you think you should. This will lift the eye creating a more youthful look. Here is your artist palette to start playing with:
Urban Decay Naked Palette: HERE
I like the brush that it comes with. Use the tight side for your lid and lower lash line and the fluffy side to blend out anything that may need blending. Remember, you don’t want to see where one color starts and another one stops. Everything should be blended on the edges a bit. I’m using the Eyeshadow Brush Bare Escentuals precision eye brush for applying the dark shade in the video.
Here is the liner I use up under my lashes on the inside waterline, Marc Jacobs Gel Crayon, black: HERE
I do the liquid liner right before mascara, L’Oreal Superstar, Snag it HERE, only on the top lash line. This is my third tube of this liner, so it really works well. I always start on the outer corner to get the correct angle on my wing. I make a line going inward and then finish it using the length of the eyeliner on the top lash line. Don’t overthink it and keep a q-tip nearby. If you mess up the first time you try something, don’t let it stop you! You will master this.
Here is my go-to budget friendly mascara, L’Oreal Voluminous Original, color blackest black, Buy it HERE, that washes off well and never lets me down.
If you are new to more than one eyeshadow color, try doing concealer after you do your eyeshadow. That way you can clean up any shadow that fell and then apply it. Here’s my current favorite, Tarte Shape Tape in Light, Check it out HERE
If you are taking the time to do any sort of eye makeup, I highly encourage you to fill your brows in. This will lift your face, open your eyes and complete the look. Here is the shade I use Anastasia Taupe Brow Powder Duo:

If I am going for a really neutral quick look, I quickly fill in my brows, throw my shadow base on, whisk some caramel colored shadow in my crease, line on the inside waterline and throw mascara on. Brows are our besties which is why I can’t wait to get mine microbladed. That will be a good day!! Have fun playing around and channeling your inner artist.
